A hugely underestimated and rarely used feature that Johns Hopkins offers to students is My JLab. My JLab supplies a virtual desktop interface (VDI) from a third party provider to students so they can use applications and software that are either unavailable to private users, or too expensive for college students to buy. Some of these applications include MatLab, Mathematica, PyMol, SPSS, R, and various programming applications. It's easily accessed to any student connected to the Hopkins wireless network; all that is needed is your JHED and the ISIS password you use. To access this, log in at
myjlab.jhu.edu.
First you will be asked to install the Citrix XenDesktop software to
your laptop, tablet, or smartphone. By clicking the "agree" box and then
installing it, you will be able to access the JLab software my going to
the website. If you don't want to install it, the VDI won't be able to
work on your computer. It will look something like this:
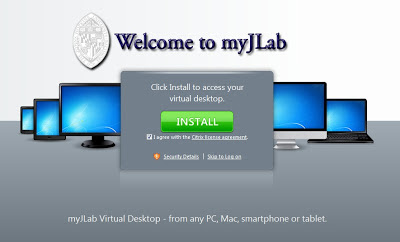 |
| What the Citrix screen will look like the first time you go to the website. Install the software to use the VDI. |
After you install the software, refresh the page. You will get a log-in page that looks like this:
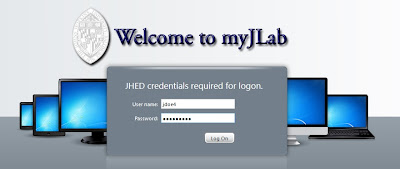 |
| The login screen for the Citrix XenDesktop VDI. |
After entering your JHED and password, your entire screen will change, and you should see something that says "Window 7 Lab" starting up (even if you're on a Mac!). This is because you are actually migrating to another "computer" of sorts. Remember the articles about cloud computing? The XenDesktop VDI is designed to allow a user to access a giant pool of applications located in a cloud. This cuts down on licensing fees and allows more people to use the software. It also affords each user a limited amount of space on this cloud. Because every user accesses the same cloud, the format is always in the same operating system (Windows 7), no matter what the accessing OS is.
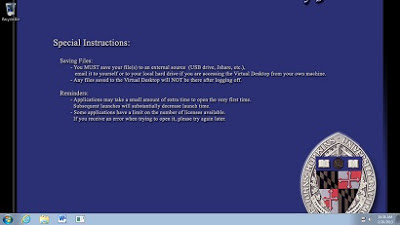 |
| The VDI desktop when you log in to XenDesktop. |
To use a program, go to the start button and simply type in the name of the program you want to use. You may even discover new associated software for the program you're using. You can open the program and pin it to the toolbar so you don't have to look so hard next time. The VDI saves user preferences like this, but it won't save files that you put on the desktop! It only saves files within the virtual hard drive.
Because this is technically a different machine, the files you store on the VDI hard drive will not be accessible by your original desktop. You can write files to your original hard drive from the VDI, but only if you give it read/write access. Even then, there may be an issue when accessing the file on the original hard drive. In general it's easier just to save the files to an external drive (flash drives are definitely useful here!) and then move them over back from the drive to your original hard drive.
But how do you get back to the original desktop once you have the VDI desktop up? If you look up at the top of the screen, you should see a black arrow. Because it's not a projection of the VDI desktop and a part of the software running from your original desktop, it doesn't show in the above picture. Pretty cool, right? Anyway, if you click the arrow, a menu will drop down. The leftmost icon is what you want to hit if you want to go back to your original desktop. The other icons aren't used often, but disconnecting from the VDI won't log you off of the desktop. If you want to keep a program running, use the disconnect feature to close out of XenDesktop. If you are done for a while, go down to the start button and log out.
Once you get back to your original desktop, you will see this icon on the bottom of your screen:
This is the icon for the XenDesktop software, and you can click it at any time to go back to the VDI. Your browser window will be replaced with a new window, and this icon will be in the middle of it.
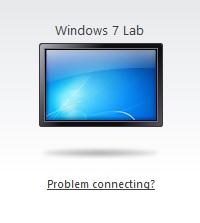 |
| The icon on the browser window. |
If you, for whatever reason, suddenly get disconnected from the VDI, you can click on the blue screen shown above to relaunch the XenDesktop software. When you're done for good, just close the browser window.
That's a run down of XenDesktop here at Hopkins. For more information about MyJLab, go here:
http://web1.johnshopkins.edu/classrooms/kriegerlab/myjlabsoftware.html. If you experience any problems or have any additional suggestions, write them in the comments. Thanks everyone!
 This is the icon for the XenDesktop software, and you can click it at any time to go back to the VDI. Your browser window will be replaced with a new window, and this icon will be in the middle of it.


No comments:
Post a Comment